Rooftop Tent Guides & Instructions

assemble roof tent gazell adventure

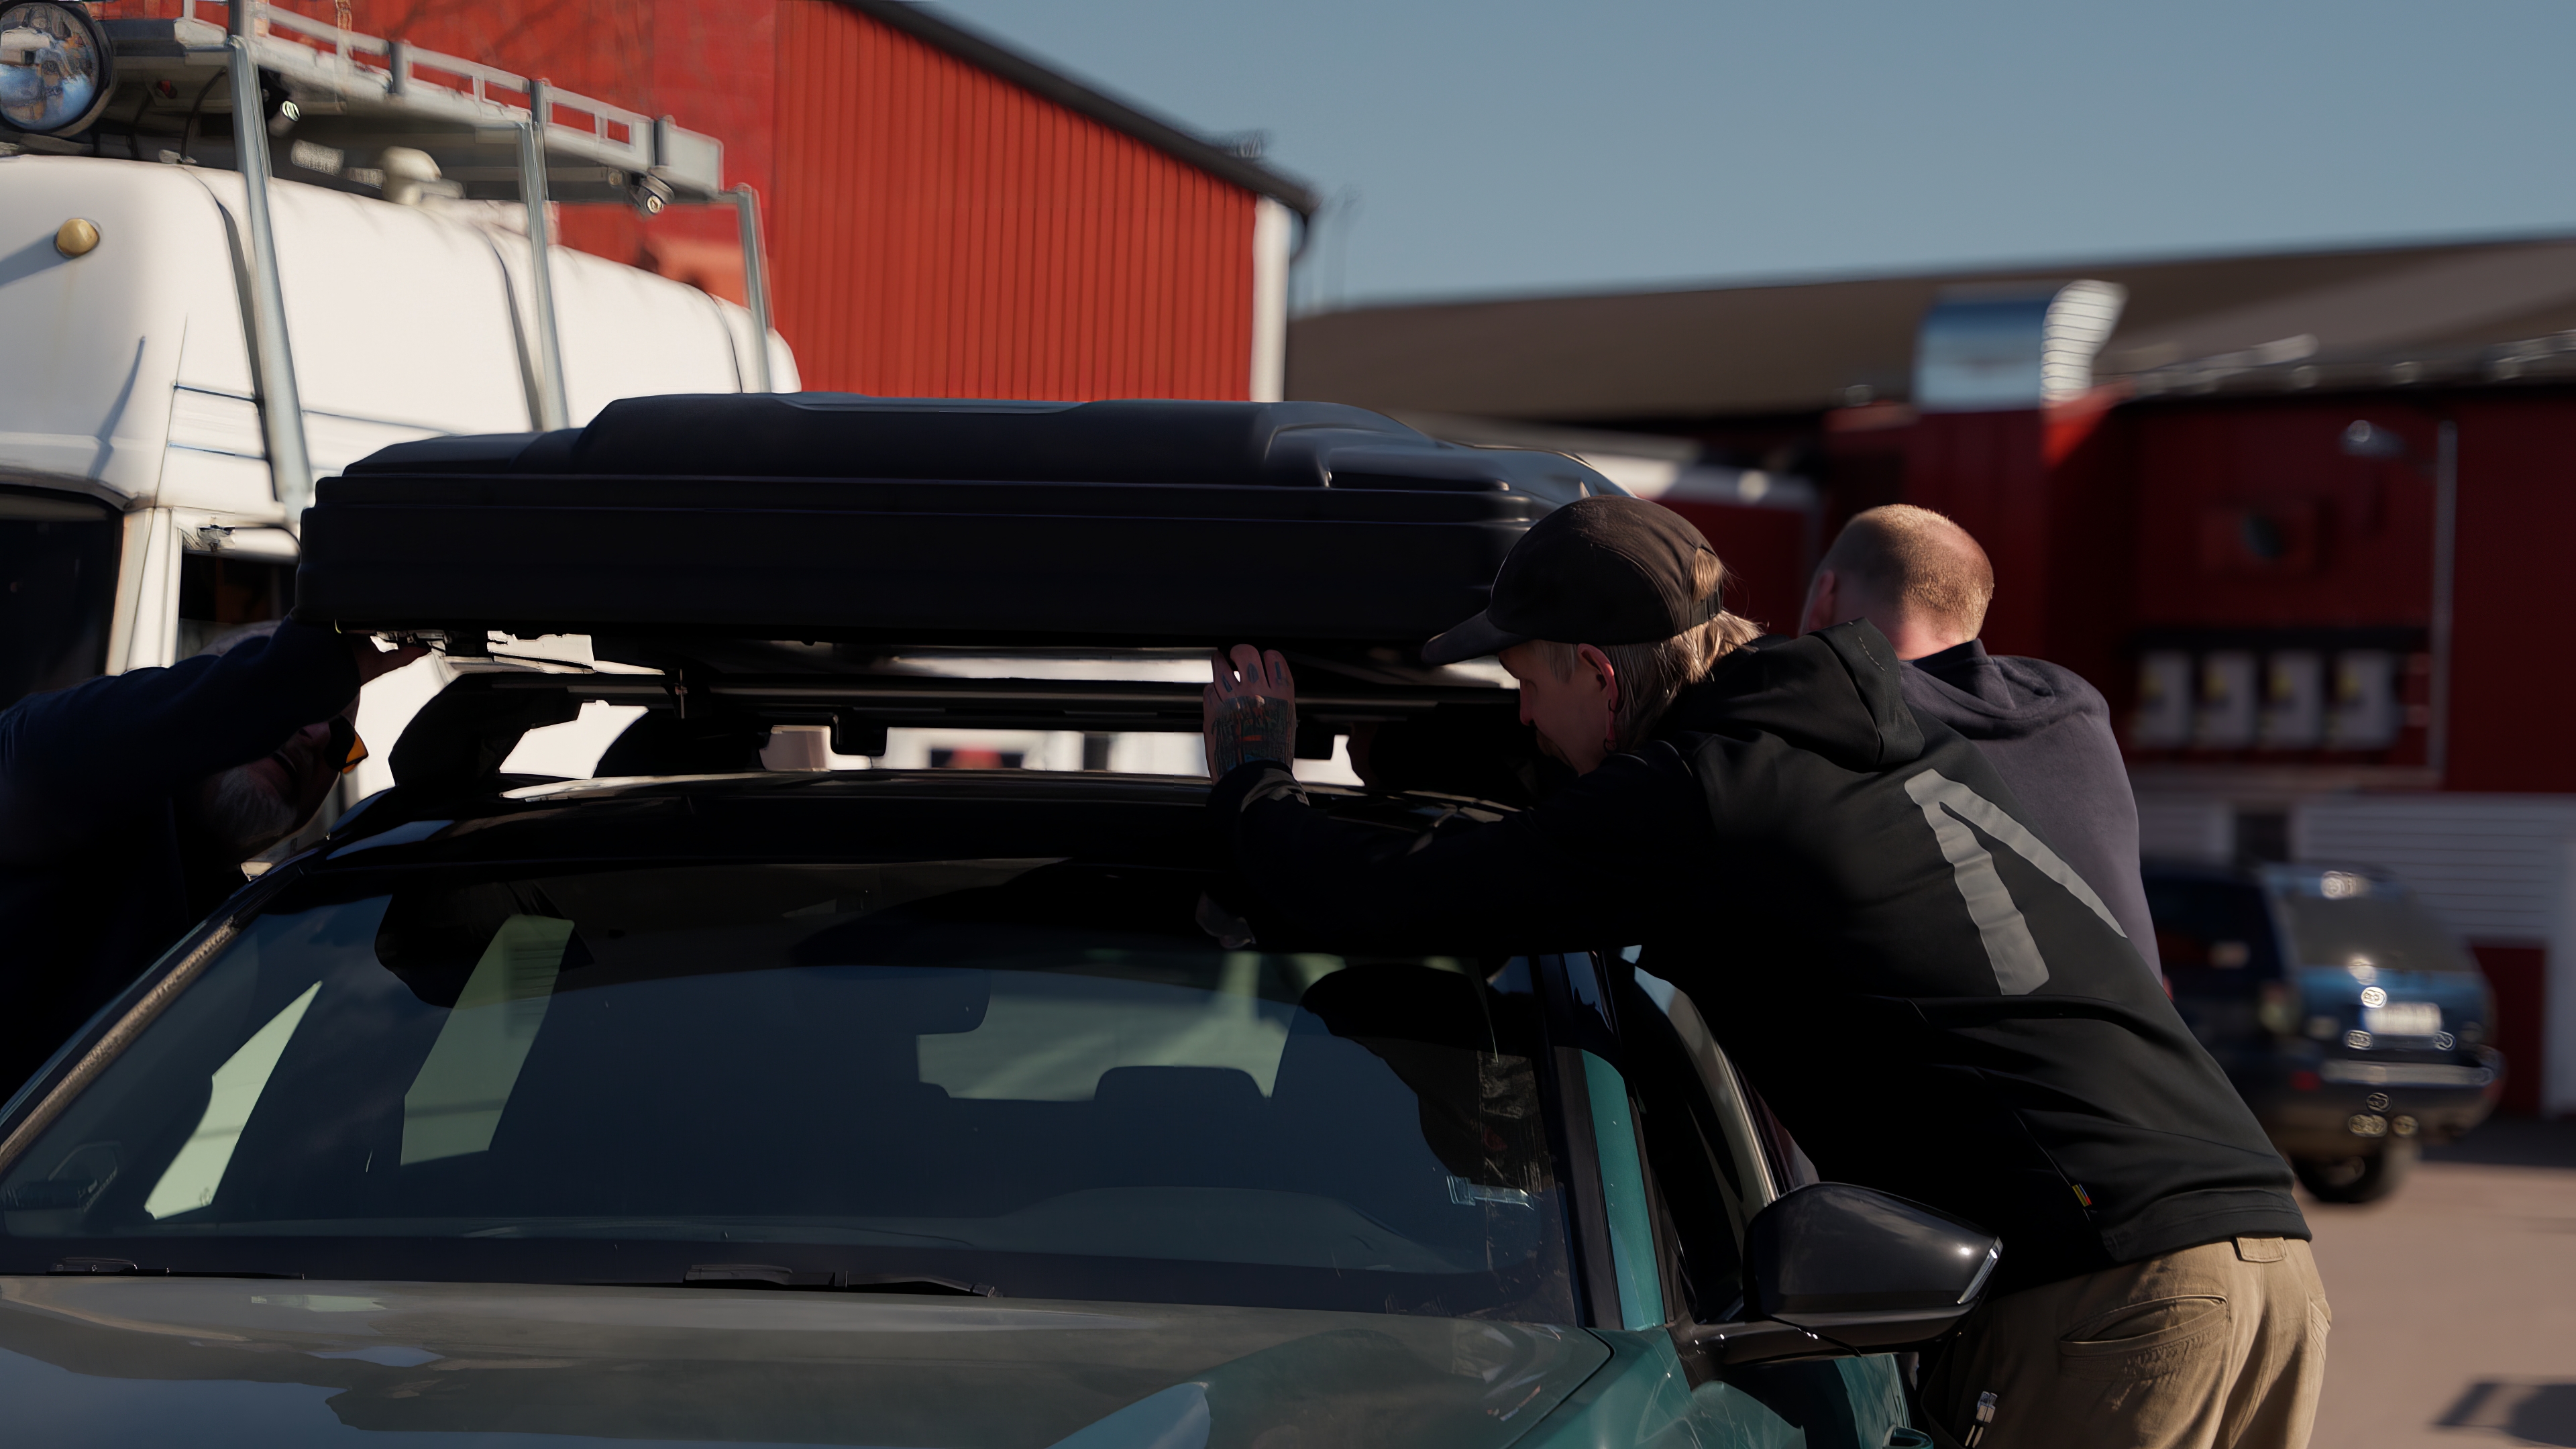
We want you to feel confident with your equipment — both at home in the garage and out in the great outdoors. Here we've gathered all our guides and instructions so you can quickly find what you need, whether it's your first time setting up your roof tent or you want to refresh your memories for the season.

Video - how to mount your roof tent on your car

Here you will find a complete instructional video on how to mount your roof tent from Gasell on your car.

How to install your roof tent on your car — GASELL GM 2.0 GM160 / GM210

BEFORE YOU START

Before you assemble your new roof tent from Gasell, there are a few important preparations that need to be done correctly. If you do them in the right order, the assembly itself will go quickly and smoothly.

  1. Check that your car roof can support the weight of the roof tent. If you are unsure — contact your car manufacturer for information on the maximum permitted roof load.
  2. Install your roof racks according to the manufacturer's instructions. We recommend Thule Wingbar Evo — they're quiet, easy to install, and can hold up to 100 kg.
  3. Distance between the railings: for GM160, the railings should be spaced approximately 80 cm apart, for GM210, approximately 100 cm is recommended.

UNPACK THE TENT

  1. Place the cardboard on a raised surface, such as a table or some trestles, for easier handling.
  2. Use a utility knife or scissors to cut the straps and lift off the lid. Remove the protective foam from the tent and open the corners of the box for better access.
  3. Unfasten the straps from the buckles and open the cover halfway. By the steps you will find the assembly kit with all the necessary parts.
  4. Remove the bag with mounting parts. Then close the cover and reattach the two straps.

MOUNT THE TENT ON THE CAR

The next step requires at least two people.

  1. We recommend that the tent opening is placed towards the passenger side of the car. Carefully lift the tent up and position it so that the long side rests on both roof racks.
  2. Adjust the position of the tent so that the trunk lid can be opened without any problems. Test opening the lid before proceeding — make sure you have enough space.
  3. Open the assembly kit and take out all the parts. Install the bolts in the sleds and insert four sleds per rail under the tent — two at each attachment point to the roof rack.
  4. Lift the tent slightly to move the sleds past the roof rack, so that one bolt is on each side of the rack. It is a good idea to lay out a blanket or cloth while working to protect the car's paintwork.
  5. Pair the mounting bracket with the adapter and thread the bracket through the bolts. Place a washer and screw on a locknut by hand. Repeat on all four mounting points.
  6. Check that the tent is centered both lengthwise and across the car. Adjust if necessary before tightening finally.
  7. Tighten all lock nuts securely. For easier assembly, we recommend a ratchet wrench or a ratchet handle with a socket.
  8. Test that the assembly is secure by taking a firm grip and trying to move the tent sideways. If it moves, the nuts need to be tightened further.
  9. Finish by installing the protective covers on the rails.

Done! Now the tent is assembled and ready for the next adventure.


Video - how to open and close your roof tent

Here you will find a thorough overview of how to set up your Gazell roof tent, as well as how to close it.

How to fold up the Gazell GM 2.0 - GM160/GM210

Setting up your Gazell roof tent is quick once you know the routine. Follow the steps below and you'll be ready to camp in minutes.

  1. Loosen the two buckles located under one long side of the tent. Loosen the strap by pressing the button on the side of the buckle. If the button is hard to press, you can press down lightly on the cover to reduce the tension in the strap.
  2. Push the cover up and pull out the ladder. Use the ladder as a lever to fold out the floor.
  3. Roll up the step protection and hook it into the loops so that it sits securely.
  4. Take out the window pegs. The two longer pegs are used for the entrance, the four shorter ones fit the side window. The mounting holes for the pegs are located under the tent.
  5. Start by fitting the straight end of the window pin into the hole, making sure it goes all the way in. Then bend the pin up and attach the side with the hook to the pocket on the inside corner of the entrance ceiling.
  6. Repeat the same steps for the side window, but attach the hook to the hole in each corner of the side window.
  7. Roll up the entrance and mosquito net and hook them so they don't get in the way.
  8. Crawl into the tent and attach the storage pockets with the zipper.
  9. In case of heavy rain: attach the rain stick to the frame and then to the loop on the cover. Point the heel upwards to avoid water collecting on the roof.
  10. In case of strong wind: attach the gas strut locks to the piston — this will prevent the hood from being closed by the wind.

The tent is now rigged and ready. Time to go camping!


How to close the Gazell GM 2.0 - GM160/GM210

Closing the tent correctly is important to protect the tent fabric and ensure that the cover closes properly for transport.

  1. Check that the locks on the gas shock absorbers are removed, and that any rain stick is dismantled.
  2. Dismantle all window pegs and place them inside the tent for storage.
  3. Make sure the windows and entrance are fully open and hanging freely on the outside of the tent. Also lower the step guard so that it hangs freely.
  4. Grab the ladder and lift the floor up to fold the tent. Press the buttons on the ladder to fold it completely.
  5. Fold in the parts of the tent fabric that hang on the sides and lay them over the floor inside the tent.
  6. Grab the hood closing strap and pull it downwards to begin closing the tent. When you reach the hood with your hand — place your hand on the inside and continue closing by hand.
  7. Make sure the locking straps end up on the outside of the cover. Tuck in any tent fabric that sticks out on the sides.
  8. Attach one of the straps to the locking bracket. Repeat on the other side of the tent.
  9. Walk around the tent and check that all the tent fabric is inside the cover. Tuck in any excess fabric.
  10. Press the cover down against the car and tighten the locking strap to close the tent completely. Repeat on the other side.

Done — now the tent is secured and ready for the next adventure!

How to close the Gazell GM 2.0 — GM160/GM210

Closing the tent correctly is important to protect the tent fabric and ensure that the cover closes properly for transport.

  1. Check that the locks on the gas shock absorbers are removed, and that any rain stick is dismantled.
  2. Dismantle all window pegs and place them inside the tent for storage.
  3. Make sure the windows and entrance are fully open and hanging freely on the outside of the tent. Also lower the step guard so that it hangs freely.
  4. Grab the ladder and lift the floor up to fold the tent. Press the buttons on the ladder to fold it completely.
  5. Fold in the parts of the tent fabric that hang on the sides and lay them over the floor inside the tent.
  6. Grab the hood closing strap and pull it downwards to begin closing the tent. When you reach the hood with your hand — place your hand on the inside and continue closing by hand.
  7. Make sure the locking straps end up on the outside of the cover. Tuck in any tent fabric that sticks out on the sides.
  8. Attach one of the straps to the locking bracket. Repeat on the other side of the tent.
  9. Walk around the tent and check that all the tent fabric is inside the cover. Tuck in any excess fabric.
  10. Press the cover down against the car and tighten the locking strap to close the tent completely. Repeat on the other side.

Done — now the tent is secured and ready for the next adventure!